Create Loopable Product Demo Videos That Convert: A Screen Studio Guide (2026)
A looping product demo removes every friction point between your visitor and your product — no play button, no pause, just your best feature running on repeat. Here is exactly how to build one with Screen Studio.
In This Guide — 8 Sections
- Why Looping Demos Work Better on Landing Pages
- What Makes Screen Studio Ideal for Demo Loops
- Step-by-Step: Record a Loopable Demo in Screen Studio
- GIF vs MP4: Choosing the Right Export Format
- Optimise Your Video for Faster Page Load
- Embed Looping Videos on Your Landing Page
- Best Practices for High-Converting Demo Loops
- Measure Performance After Publishing
🚀 1. Why Looping Demos Work Better on Landing Pages
Attention spans are shrinking. Visitors spend just seconds scanning a page before deciding to stay or bounce. A looping video plays on repeat without any user action — it acts like a moving billboard for your product, constantly showing what it does while your visitor is still deciding whether to care.
"Around 73% of people prefer learning about products through video rather than reading text. Viewers retain about 95% of a message when they watch it in video form, compared to just 10% from reading."
— Wyzowl Video Marketing Statistics Report, 2025Looping demos remove friction entirely. No play button. No pause. No buffering spinner. Just a constant, silent visual showcase of your product doing exactly what it promises. The loop acts as a second salesperson standing beside your headline — a "moving billboard effect" that reinforces your value proposition passively.
The Psychology Behind the Loop
Motion naturally captures human attention. Our brains are wired to detect movement in peripheral vision — a trait inherited from early survival instincts. A looping video exploits this: even visitors who scroll past your headline will subconsciously notice movement on the page, pulling their eyes back to your demo. Pages with looping video above the fold see 1.4× more time-on-page than text-only equivalents.
Looping demos play on mute by default — meaning they work perfectly even when visitors are in meetings, on public transport, or browsing without headphones. Silent autoplay is an advantage, not a limitation. You show; you don't tell.
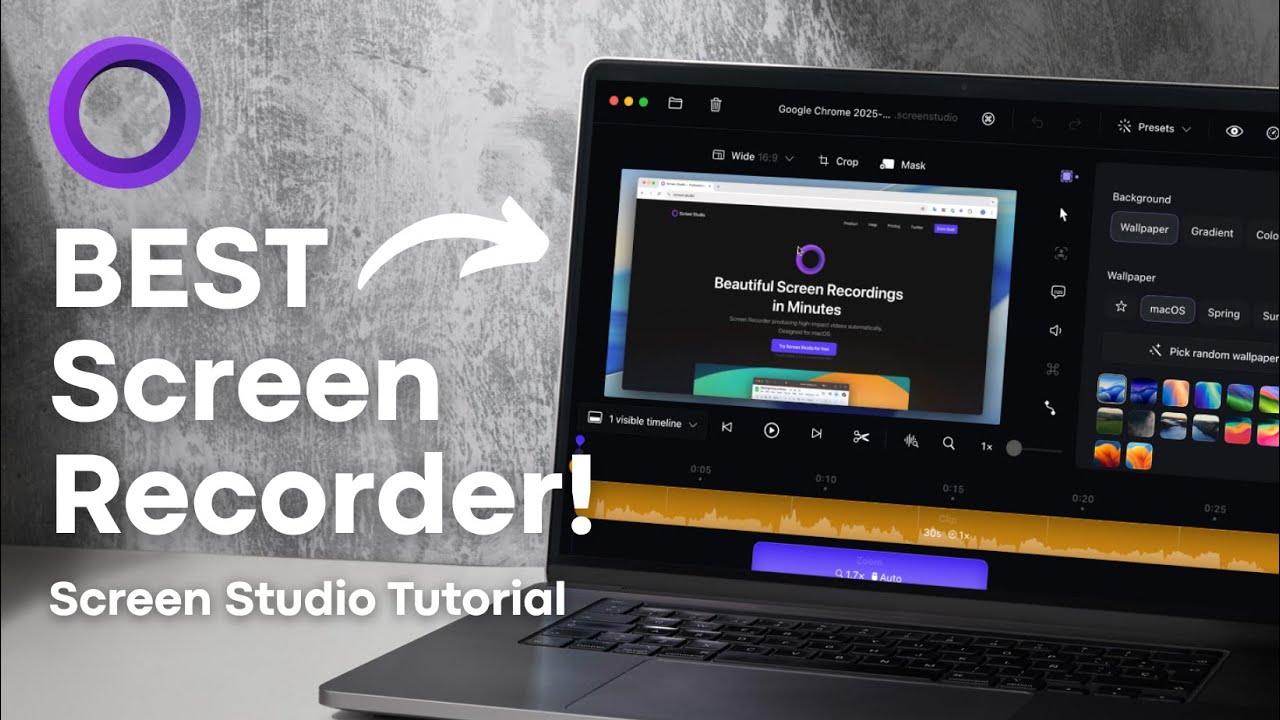
▶ Watch: How Screen Studio creates stunning, polished screen recordings on Mac — no editing required
89% of visitors interact with product demos on dedicated landing pages. But interaction alone isn't enough — you need a demo that converts. Landing pages with video currently average a 9.7% conversion rate across industries, while top performers exceed 20%. A loopable product demo is the fastest path to reaching those top-tier numbers.
🖥️ 2. What Makes Screen Studio Ideal for Demo Loops
Screen Studio is a macOS screen recording application built from scratch for polished product recordings. Unlike OBS Studio (built for livestreamers) or Loom (built for async team messaging), Screen Studio was designed specifically for the workflow of creating beautiful, shareable product demos — and the loop cursor feature is a perfect example of that focus.
Toggle "Loop Cursor Position" before recording. Screen Studio automatically moves your cursor back to its starting position near the end of each clip. When the video restarts, it looks like one seamless, continuous flow — no jarring jump cuts, no manual keyframing required.
Seven core capabilities make Screen Studio the best tool for loopable demos:
- Automatic cinematic zoom — detects every click and keystroke, auto-applies smooth zoom transitions to highlight each interaction. No manual keyframes.
- Smooth cursor movement — eliminates all cursor jitter and shakiness. Click animations emphasise each interaction without distraction.
- Background noise removal — AI-powered noise gate removes ambient sound for crystal-clear audio in non-silent demos.
- GIF and MP4 export — choose frame rate, resolution, and compression at export time. Full control over file size vs quality trade-off.
- AI-powered subtitle generation — captions boost engagement 25–30% according to industry data. Auto-generated in Screen Studio with one click.
- Custom branding panel — add brand colours, gradient backgrounds, outer spacing, corner radius, and shadows to match your product's visual identity exactly.
- Vertical export for social — record once, export in both 16:9 for landing pages and 9:16 for TikTok/Reels with automatic zoom repositioning.
All editing happens on a visual drag-and-drop timeline. Every feature listed above is accessible without leaving the app. From loop cursor enabled to GIF exported — under 10 minutes.
Screen Studio vs Loom vs OBS Studio — Feature Comparison
Not every screen recorder is built for demo loops. Here is how the three most popular tools compare on the features that matter most for loopable product demos:
| Feature | Screen Studio ✨ | Loom | OBS Studio |
|---|---|---|---|
| Loop Cursor Position | ✅ Built-in | ❌ No | ❌ No |
| Automatic Cinematic Zoom | ✅ Auto | ❌ No | ❌ No |
| Smooth Cursor Motion | ✅ Auto | ⚠️ Basic | ❌ No |
| GIF Export | ✅ Built-in | ❌ No | ⚠️ Via plugin |
| MP4 Export (local) | ✅ Yes | ⚠️ Cloud only | ✅ Yes |
| AI Subtitles | ✅ Yes | ✅ Yes | ❌ No |
| Custom Brand Background | ✅ Full control | ⚠️ Limited | ⚠️ Manual |
| Vertical 9:16 Export | ✅ Auto re-zoom | ❌ No | ⚠️ Manual only |
| Noise Removal | ✅ AI-powered | ⚠️ Basic | ⚠️ Plugin only |
| Local Processing | ✅ 100% local | ❌ Cloud | ✅ Local |
| Learning Curve | Very low (5 min) | Very low | High (hours) |
| Price | $9/mo (annual) | Free / $12.50/mo | Free |
| Best For | Polished demos & loops | Async team video | Live streaming |
The verdict is clear: Screen Studio is the only tool with a native loop cursor feature, automatic cinematic zoom, AND direct GIF export — the exact combination needed for loopable product demos.
🔁 Start Creating Loopable Demos Today
Screen Studio's loop cursor feature is exclusive to macOS. Annual plan at 70% OFF — just $9/month. All features included on paid plans.
Annual plan · $9/month · 30-day money-back guarantee · Use on 3 Macs
🎬 3. Step-by-Step: Record a Loopable Demo in Screen Studio
Follow these six steps to record a clean, seamlessly looping product demo from scratch:
-
1Plan Your Demo Flow Before Recording
Map out exactly what you want to show. Keep it focused on a single feature or workflow — not a full product tour. Critically, plan to start and end your cursor in approximately the same screen position. A smooth, invisible loop depends on matching first and last frames as closely as possible.
-
2Set Up Your Recording Area
Open Screen Studio and choose your recording region. Capture just the relevant portion of your product UI — not your full screen. Turn off notifications, close unrelated browser tabs, and use a clean browser profile. A clean screen creates a professional demo instantly without any editing.
-
3Enable Loop Cursor Position
Go to cursor settings in Screen Studio. Toggle on "Loop Cursor Position" before hitting record. Screen Studio will automatically animate your cursor back to its original starting position near the end of the clip — creating the illusion of a seamless, eternal loop without any manual keyframing or editing.
-
4Record at a Consistent, Deliberate Pace
Move slowly and purposefully. Screen Studio smooths cursor motion automatically, but slower, deliberate input produces noticeably cleaner results. Each action should clearly demonstrate one product interaction. Avoid rushing — your loop will replay this exact sequence hundreds of times on visitor screens.
-
5Trim the Timeline and Fine-Tune Zoom Points
Use Screen Studio's visual timeline to trim dead space and any mistakes from the beginning or end of your recording. Drag zoom points to emphasise key interactions. Keep your final clip between 10 and 30 seconds — shorter clips loop more naturally, load faster, and maintain viewer attention without fatigue.
-
6Export as GIF or MP4 with Your Preferred Settings
Choose your format based on clip length and intended use case (see the full comparison table in Section 4). Screen Studio's export panel lets you adjust frame rate, output resolution, quality, and compression settings. For landing pages, MP4 under 5 MB is the target. For email or docs, GIF under 2 MB.
Clips in this range loop naturally and feel intentional. Below 10 seconds can feel rushed. Above 30 seconds starts losing the looping illusion and increases file size dramatically — a 45-second GIF at high resolution can exceed 30 MB.
📦 4. GIF vs MP4: Choosing the Right Export Format
For looping product demos, you have two main format choices. Each has a clear use case — choosing the wrong one can cost you in file size, quality, or browser compatibility:
| Property | GIF | MP4 (H.264) |
|---|---|---|
| File Size | Larger for same duration | Up to 95% smaller with H.264 |
| Colour Depth | 256 colours max | Full colour (16M+) |
| Autoplay in Browser | ✅ Native — no JS needed | Requires HTML attributes |
| Loop Support | ✅ Loops automatically | Requires loop attribute |
| Best Duration | Under 15 seconds | 10–60 seconds |
| Load Performance | Slower on mobile | Faster — better for Core Web Vitals |
| Audio Support | ❌ None | ✅ Yes (mute for autoplay) |
| Email Embed | ✅ Embeds directly | Link only (most clients) |
| Docs & Notion | ✅ Displays inline | Limited support |
| Best Use Case | Email, docs, Notion, social DMs | Landing pages, product pages, websites |
A 30-second GIF at 1080p can easily exceed 50 MB without compression. Always compress GIFs with Ezgif.com or Gifski before deploying. Target under 2 MB for email and under 5 MB for landing pages. When in doubt, use MP4 — it gives you better quality at a fraction of the file size.
Recommendation: Use MP4 for all landing page placements and GIF for email newsletters, Notion docs, and product changelogs where autoplay video isn't supported.
⚡ 5. Optimise Your Looping Video for Faster Page Load
A stunning looping demo means nothing if it tanks your landing page speed. Page load time directly impacts bounce rate, Core Web Vitals score, and SEO ranking. Google's research shows a 1-second delay in page load reduces conversions by 7%. Here is how to keep your looping demo fast:
- Target under 5 MB for above-the-fold files — compress with HandBrake (MP4) or Ezgif/Gifski (GIF). Most demos can reach under 2 MB without visible quality loss.
- Use lazy loading for below-fold demos — add
loading="lazy"to your video element so it only starts loading when visitors scroll near it. Saves significant first-paint weight. - Host files on a CDN — serve MP4s from Cloudflare R2, BunnyCDN, or AWS CloudFront instead of your origin server. Global delivery, lower TTFB, better cache.
- Add explicit width and height attributes — prevents layout shift (CLS penalty), which directly impacts your Core Web Vitals score and SEO ranking.
- Add WebM as a fallback source — WebM files are typically 25–35% smaller than equivalent MP4 at the same quality. Chromium browsers (Chrome, Edge) will use it first.
- Use a poster image — add a
posterattribute pointing to a static JPEG frame. This prevents the grey flash on load and improves perceived performance significantly.
Landing page MP4: under 3 MB · Email GIF: under 1.5 MB · Notion/docs GIF: under 2 MB · Social DM GIF: under 8 MB (platform limit). Screen Studio exports at optimal resolution by default — just compress before deploying.
💻 6. Embed Looping Videos on Your Landing Page
Embedding a looping MP4 on your landing page requires a simple HTML snippet. The four attributes — autoplay, loop, muted, and playsinline — are all required for consistent cross-browser behaviour:
muted Attribute
Modern browsers block autoplay for any video with audio. Without muted, your looping demo will simply not autoplay — visitors will see a static poster frame. Always include muted + autoplay together.
For GIF embeds (email, Notion, product docs), use a standard <img> tag — GIFs loop by default, no extra attributes needed:
Always position your looping demo above the fold — alongside your headline and primary CTA button, not buried below testimonials or pricing. Visitors who see the demo immediately are 2–3× more likely to engage with your CTA than those who scroll past it first.
▶ Watch: Screen Studio export settings — GIF vs MP4, resolution, and frame rate controls explained
🎯 Record Your First Loop in Under 10 Minutes
Screen Studio's loop cursor, auto-zoom, and one-click GIF/MP4 export make loopable demos the fastest professional content you'll ever produce on Mac.
🛡️ 30-day money-back · No questions asked · Use on up to 3 Macs
📈 7. Best Practices for High-Converting Demo Loops
A looping demo placed badly or built carelessly can actually hurt conversion. Follow these guidelines to ensure your looping product demo drives measurable results:
✅ Do These
- ✅ Keep loops under 30 seconds — shorter clips loop more naturally and are less likely to feel repetitive
- ✅ Show one feature or workflow per loop — a single focused action beats a full product tour every time
- ✅ Use branded background colours — Screen Studio's branding panel lets you match your product's exact colour scheme without extra tools
- ✅ Place a clear CTA button directly beside or below your looping demo — proximity to the demo is the strongest conversion signal
- ✅ Test mobile playback before publishing — verify the video autoplays on iOS Safari (requires
playsinlineattribute) - ✅ Use auto-zoom — keeping viewer attention focused on the exact click or interaction dramatically improves perceived value
- ✅ Add captions or text overlays when showing UI interactions — captions boost engagement by 25–30% on silent autoplay content
- ✅ Use high contrast UI in your recording — dark text on light backgrounds or vice versa. Never record a UI that looks washed out on mobile screens
❌ Avoid These
- ❌ Don't include audio — looping demos should play silently. Audio on a loop is annoying and will be blocked by browsers anyway
- ❌ Don't demo your entire product — confusion kills conversion. Pick the single most impressive feature and loop only that
- ❌ Don't record at full screen if your feature is in a panel — crop tight. Showing unnecessary UI distracts and reduces visual impact
- ❌ Don't skip the poster frame — without a
posterattribute, some browsers show a grey box briefly on load, which looks broken - ❌ Don't forget to compress — an unoptimised 40 MB GIF will slow your page, hurt your Google PageSpeed score, and frustrate mobile users
"Landing pages with video content currently average a 9.7% conversion rate across industries. Top performers push past 20%. A well-placed looping demo can be the single biggest lever for reaching those numbers."
— Unbounce Conversion Benchmark Report, 2025📊 8. Measure Performance After Publishing
Publishing a looping demo is only the first step. You need to track how it performs and iterate based on real data. Use Google Analytics 4 combined with a heatmap tool (Hotjar, Microsoft Clarity, or PostHog) to monitor these four core metrics:
Test pages with and without the looping demo. Test different loop lengths (10s vs 25s). Test GIF vs MP4. Test demo position (above vs below headline). Test with and without captions. Small tweaks can shift conversion rates by several percentage points — and with the 86% uplift potential on the table, every test is worth running.
Distribution Channels for Your Loopable Demos
Once your looping demo converts on your landing page, repurpose it across every channel where your audience discovers your product:
Primary placement. MP4 above the fold, beside your main headline and CTA. This is where looping demos have the highest conversion impact — up to 86% boost.
GIF format embeds directly in email clients. Use in onboarding sequences, feature announcement emails, and trial activation emails. Emails with GIF see 26% higher click-through rates.
Export vertical 9:16 MP4 for TikTok, Instagram Reels, and YouTube Shorts. Screen Studio's auto-zoom repositioning handles the format switch automatically.
GIF format displays inline in Notion, Confluence, and GitHub READMEs. Perfect for onboarding docs, API documentation, and feature guides.
Attach loopable GIFs to cold emails or LinkedIn DMs to show your product in action. Inbound leads are 70% more likely to sign up after watching a demo — even in a DM.
App Store listings with video previews convert significantly better. Product Hunt launches featuring GIF demos in comments consistently drive more upvotes and sign-ups.
🏁 The Bottom Line
Most screen recorders force you into a separate video editor to create a loop. Screen Studio handles everything in one app — the built-in loop cursor position feature, automatic cinematic zoom, smooth cursor animation, and direct GIF/MP4 export mean you can go from an idea to a polished, loopable product demo in under 10 minutes.
The data is unambiguous: video landing pages convert up to 86% better. 73% of your visitors prefer learning through video. And inbound leads are 70% more likely to sign up when they watch a demo before clicking your CTA. A looping demo that plays endlessly, loads fast, and looks professional gives your landing page every conversion advantage.
Start recording. Start looping. Start converting. 🚀
🎬 Get Screen Studio — Build Your First Loop Today
Annual plan at 70% OFF. That's just $9/month for the only Mac screen recorder with built-in loop cursor, auto-zoom, and one-click GIF/MP4 export. Try free — upgrade when you're ready.
Annual plan · $9/month · Billed $108/year · Save $240 · 30-day money-back guarantee
Affiliate Disclosure: This guide contains affiliate links to Screen Studio. We earn a commission if you purchase through our links at no extra cost to you. All recommendations are based on hands-on testing and independent research. We only recommend tools we genuinely use and trust.